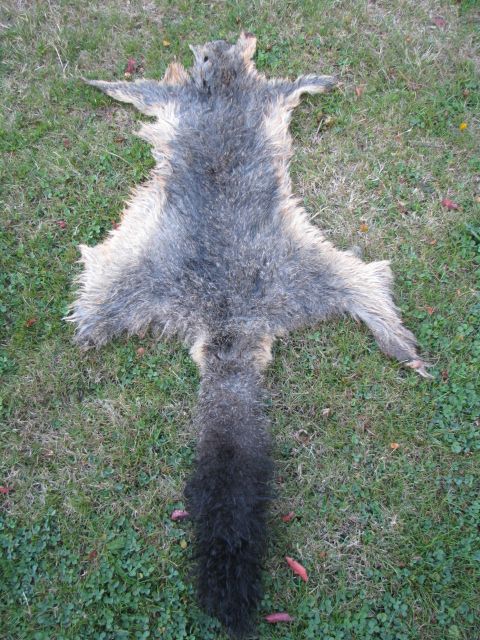
Right, Borax treatment of Possum pelts.
Basically you follow all steps thus far, up to the rinsing off after fleshing. Then with your freshly washed, clean and salt/flesh free skin, wring as much water as possible from the fur and leave it to dry for a couple of hours.
This drying time will vary, depending on outdoor temperatures, water content left on the skin, humidity etc., but you want the fur basically dry and the skin to still be wet- but not dripping wet. It is a judgement call.

If it is too wet the Borax will turn to a slurry and run into the hair side of the hide and dry there like glue (in my experience).
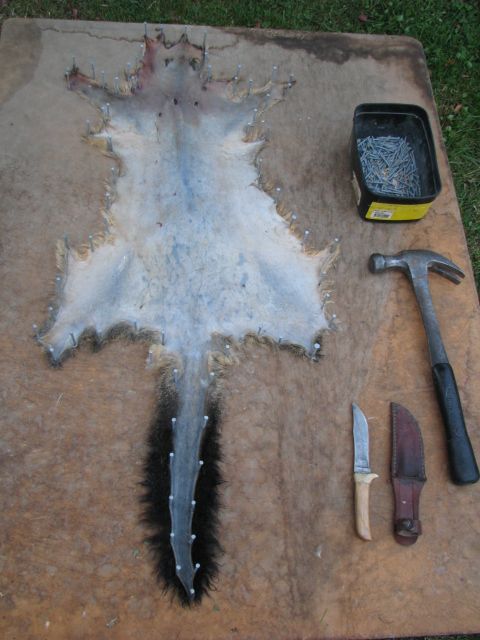
Once the decided dryness is obtained, find yourself a flat board big enough to tack nail the entire skin (tail included) (old MDF pallet tops work great)- some small flat head nails (galvanised not bright steel)- a hammer and possibly a knife to trim ugly uneven bits that may be there and unwanted.
I like to start at the head end of the skin and tack the hide fur side down on the board. You want to stretch the skin taunt- but not overly so, remove the creases, but do not pull that tight that you tear the last nail position. Work around the edge of the hide, tacking a nail every couple of inches. Some areas will require more or closer nail spacings, some will need re-positioned, but as you work your way around it will all become clear if any adjusting needs done.
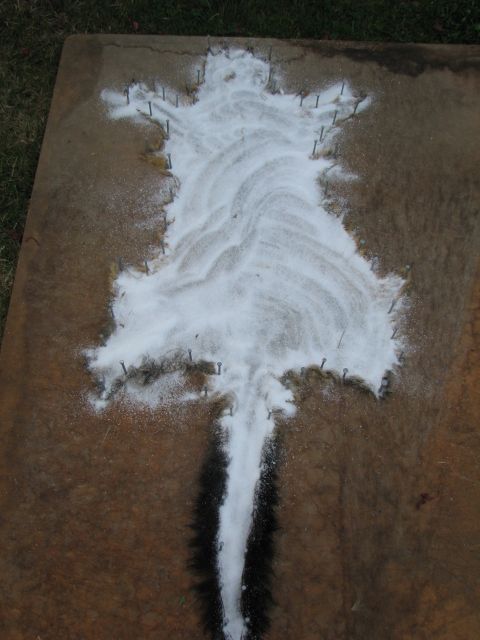
Once it is all pinned out and looking the way you want, give the flesh side a liberal dusting of the Borax powder. You do not need to "bury" the hide from view, just an even liberal coating over the entire flesh side- making sure to get in to any edge areas that may have curled up as you were pinning out.
No pick the whole kit and kaboodle up, keeping it horizontal and place it somewhere out of the way- out of kid/pet reach and out of direct sunlight until the pelt is entirely dry and feels quite stiff to the touch.
In my case, I place the board on top of an old chest freezer that resides in my workshop.


