DIY Gallows Tool
Posted: Sun May 31, 2015 5:47 pm
More of a dry fly thing, I know, but there are some wet applications where this be useful (I'm working on a Quigley wet fly, but it's still in the test stage).
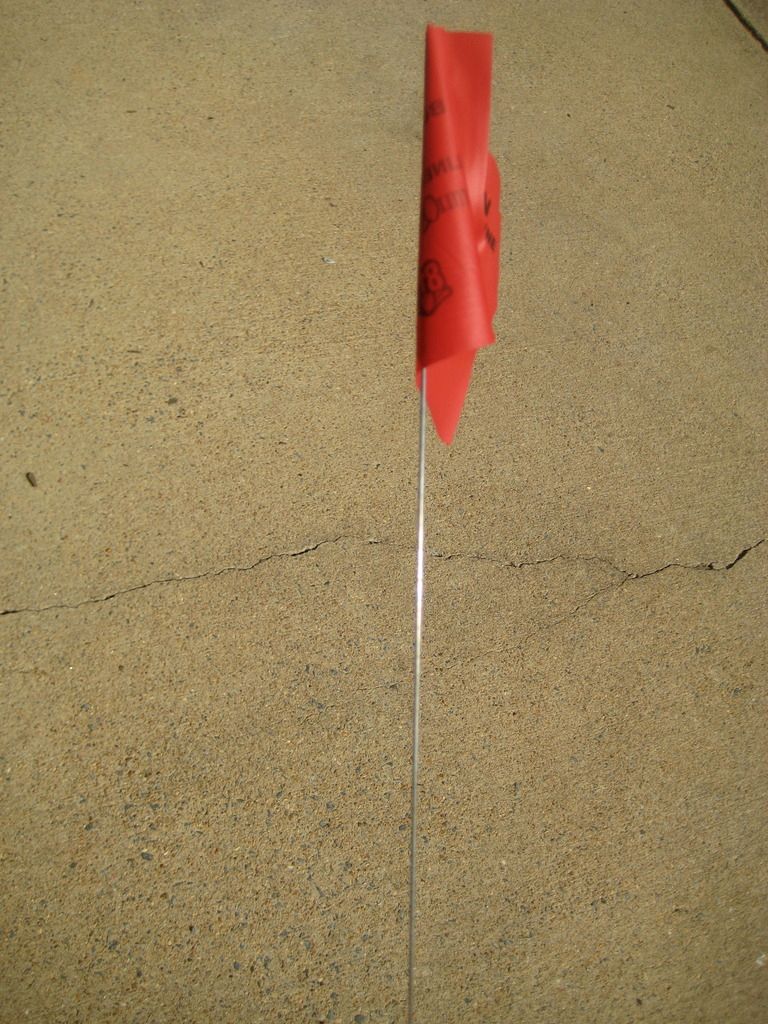
Since I started tying Hacklestackers, I tried a bunch of different ways to hold the post loop while wrapping the hackle (never did get the hang of the mono loop on the finger like Mr. Quigley tied it). DIdn't feel like buying a gallows so I tried everything from bent coat-hangers to rubber bands on the Ott light that hangs over my vise. Rooting through the bins at Home Depot for another project, I found some nylon spacers that fit the vise shaft and figured they'd work as the base; just needed the right material for the hook part. Coat hangers are a bit thick and really don't have that much spring to them, same with all the spooled wire I could find. Thought about stuff like 304 spring steel wire, music wire, etc, then remembered the wire on those cheapy marker flags might work (grabbed one from the neighbor's yard - I'm sure they won't have any trouble finding those buried cables they're going to start digging around). The stuff is perfect - flexible, doesn't seem to have much memory, provides the right amount of tension, and is long enough that when it's bent and attached to the post loop, there's plenty of room to wrap the hackle without banging into it.
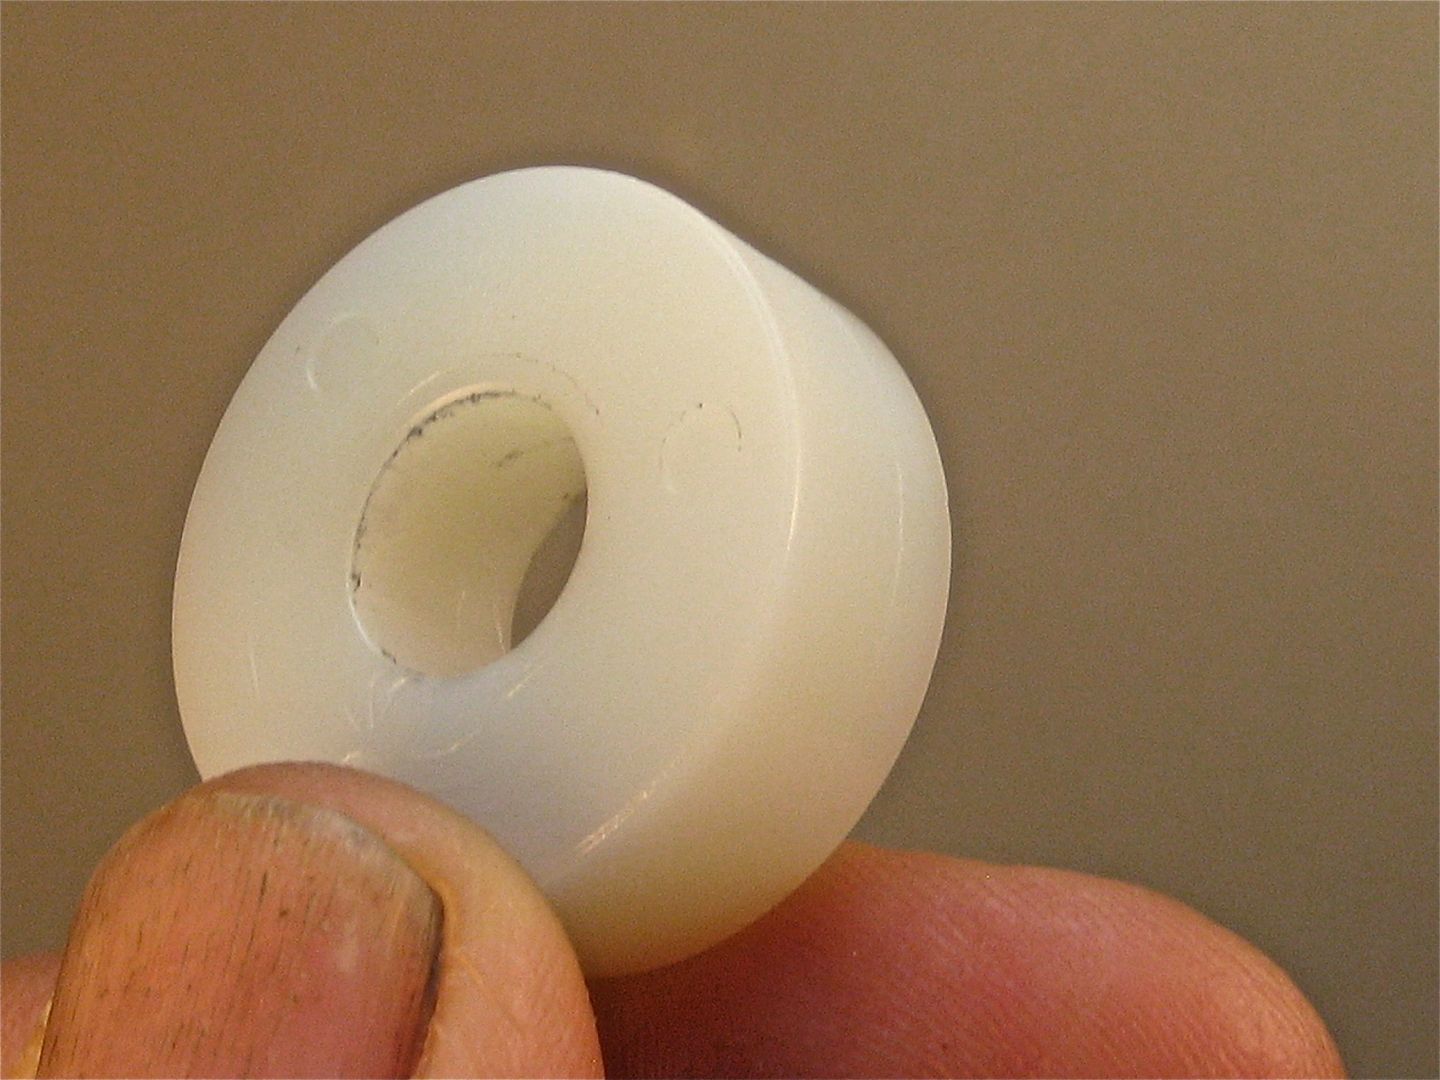
base - nylon spacer 3/8" I.D. x 1" x 3/8"
arm - 1/6" wire (from marker flag)
glue - 5 min epoxy
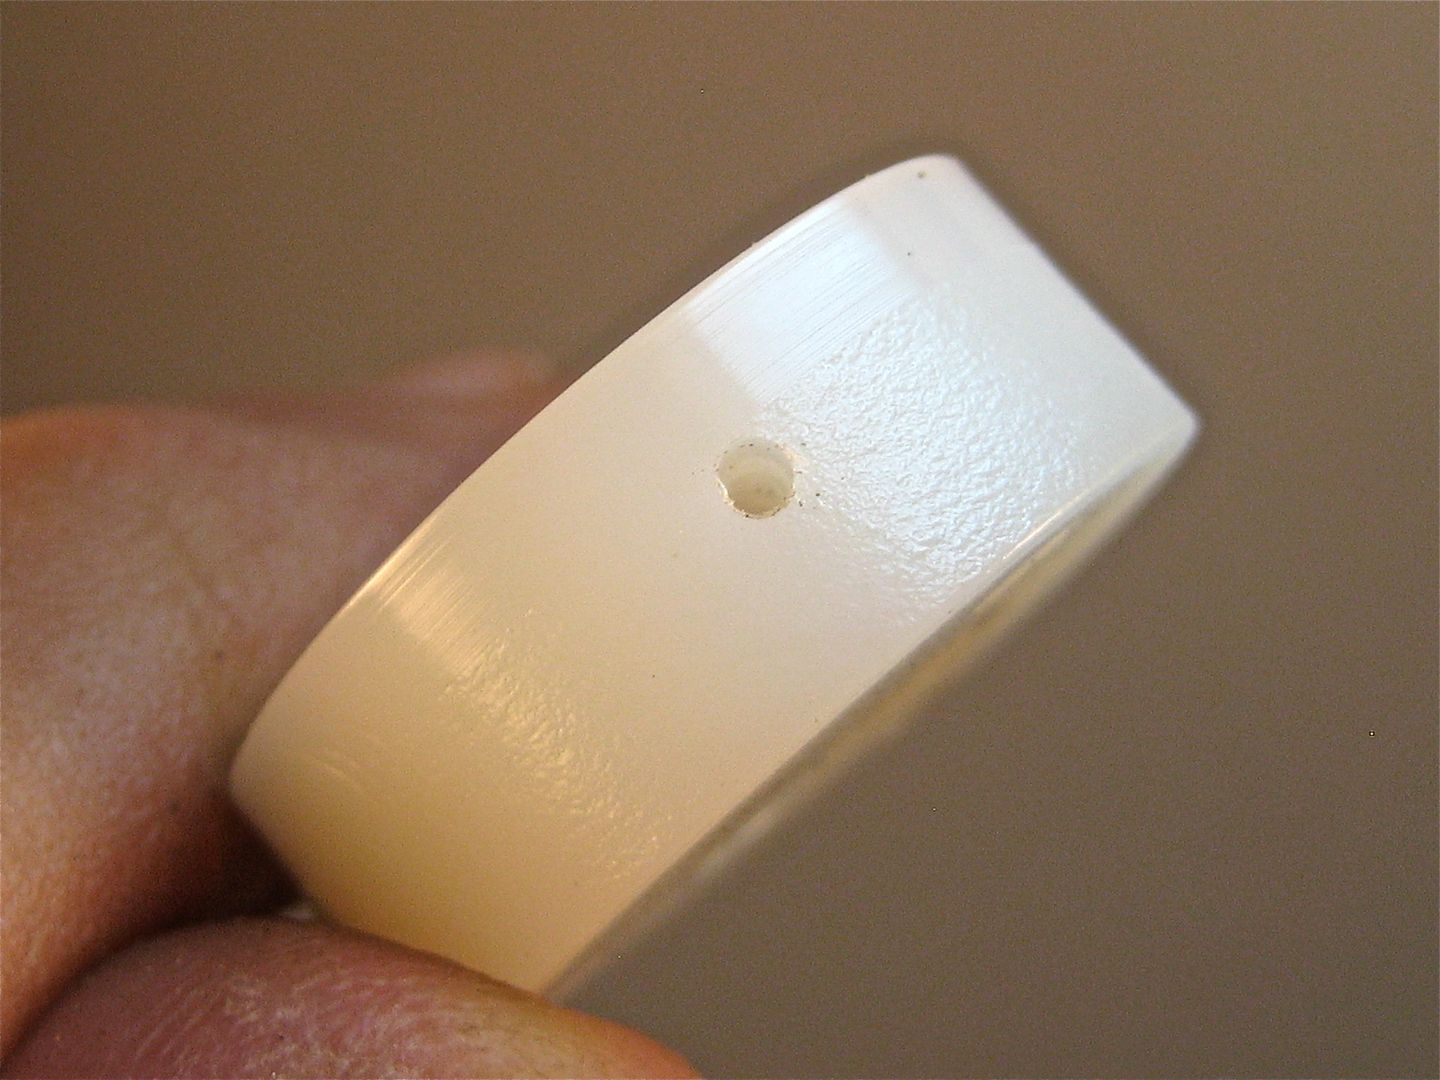
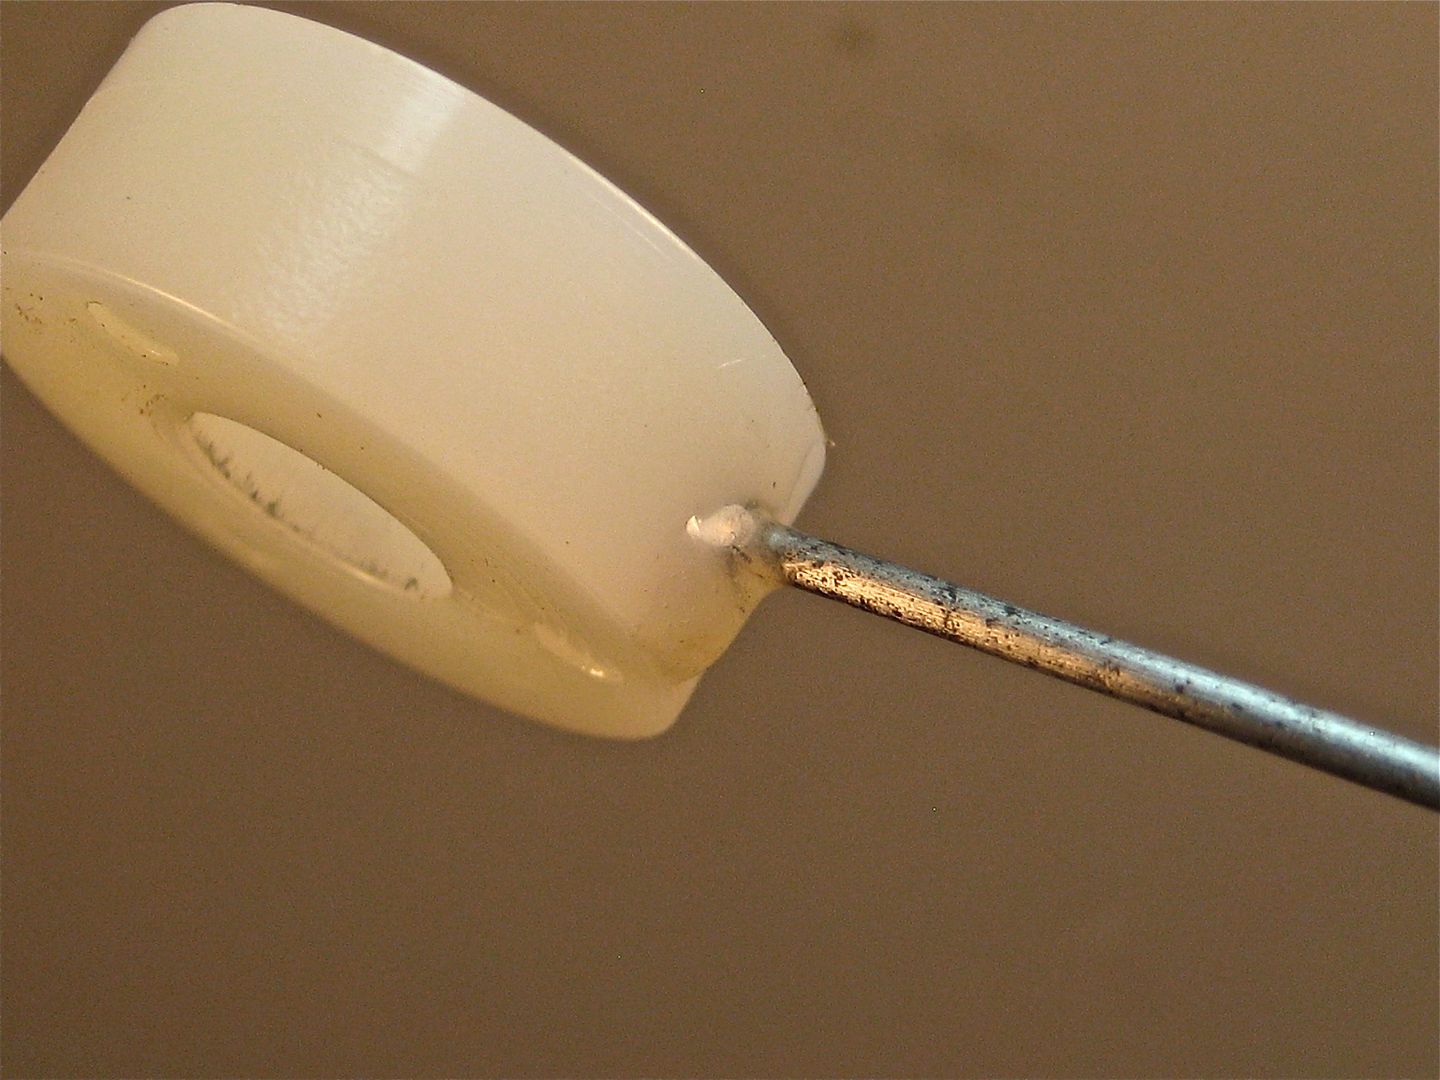
spacer; drill 1/16" hole
flag (pull the flag off and clean up the wire with a little steel wool)
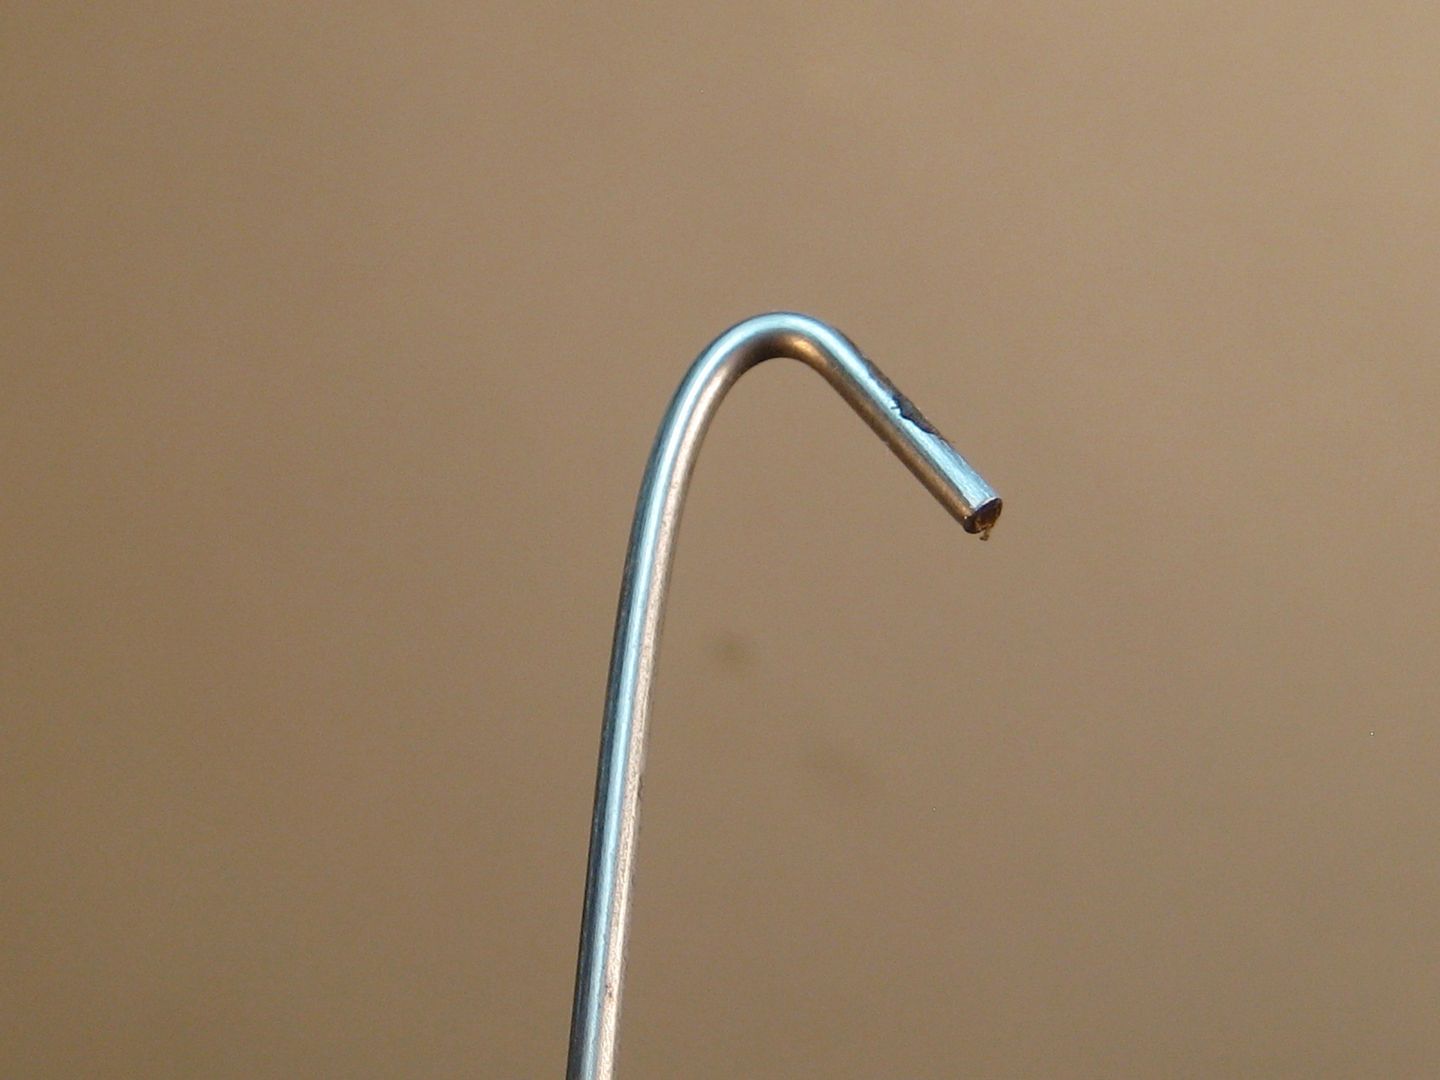
bend end of the wire into a hook
epoxy other end into the spacer
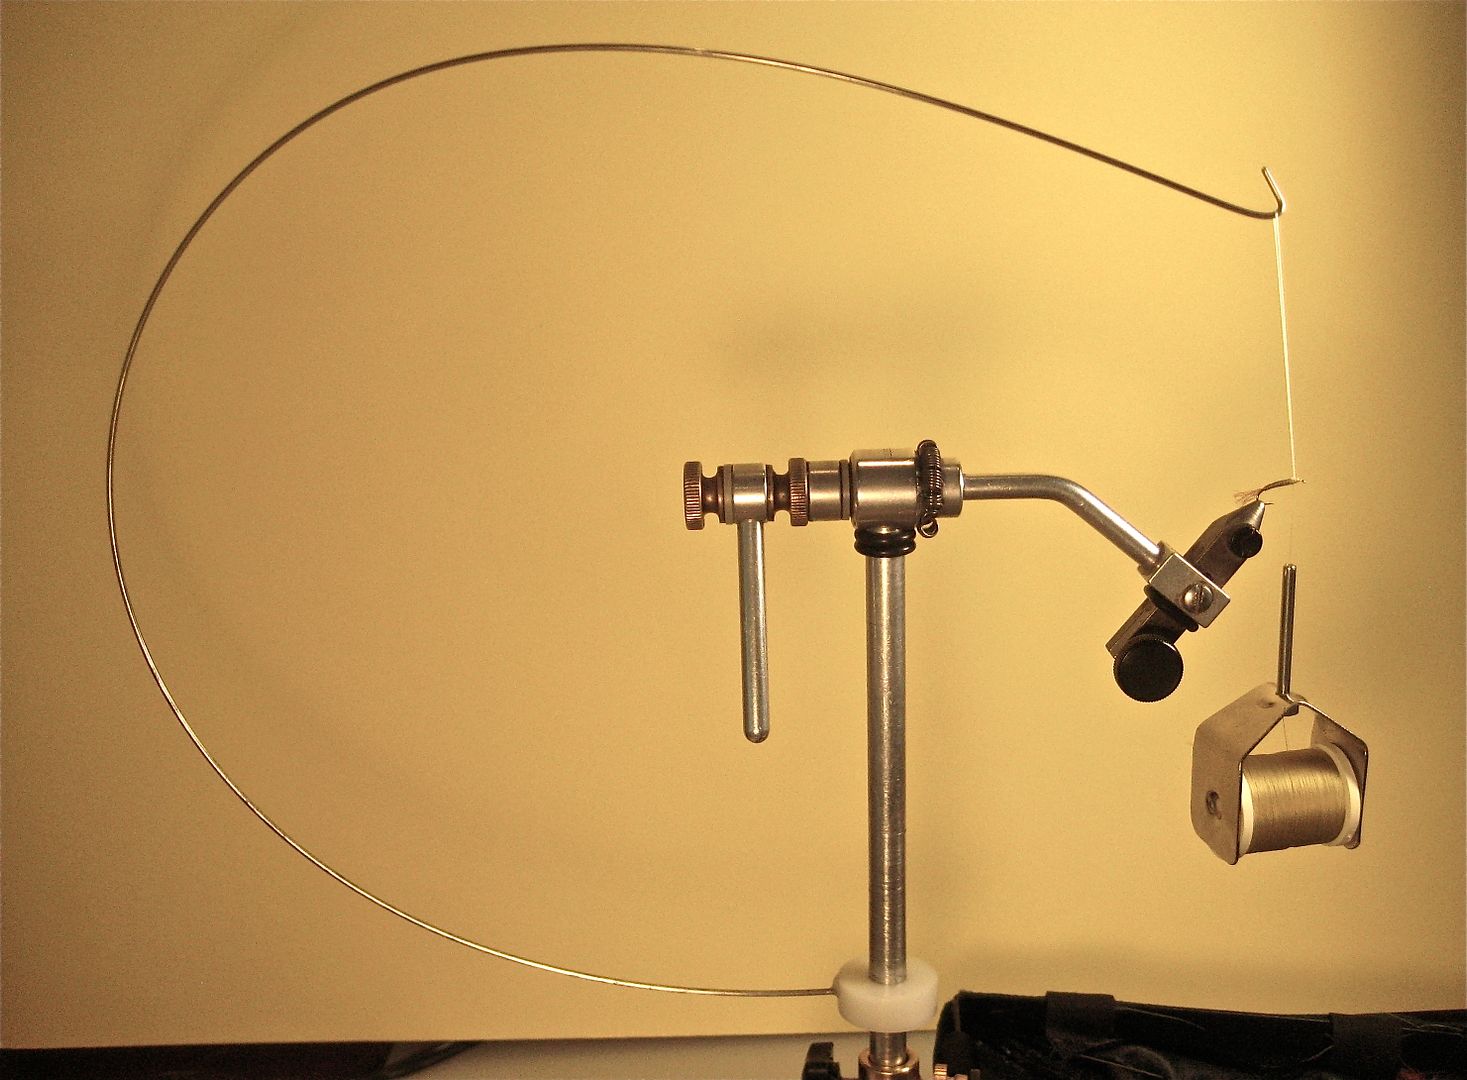
slide it on the vise shaft and Bob's your uncle

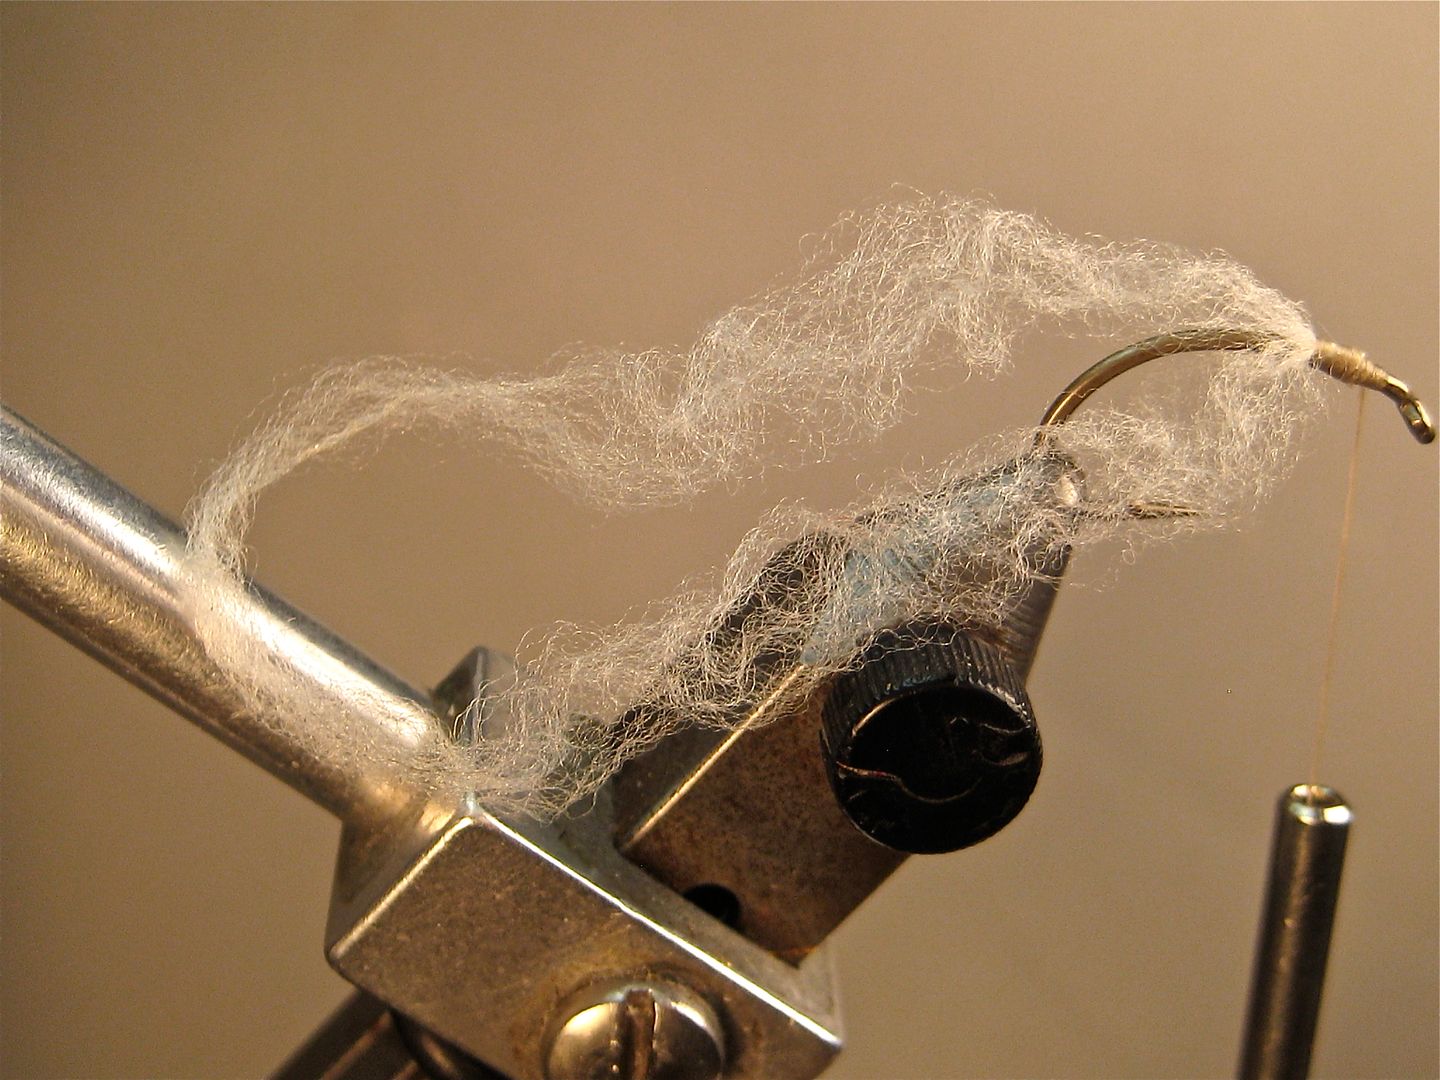
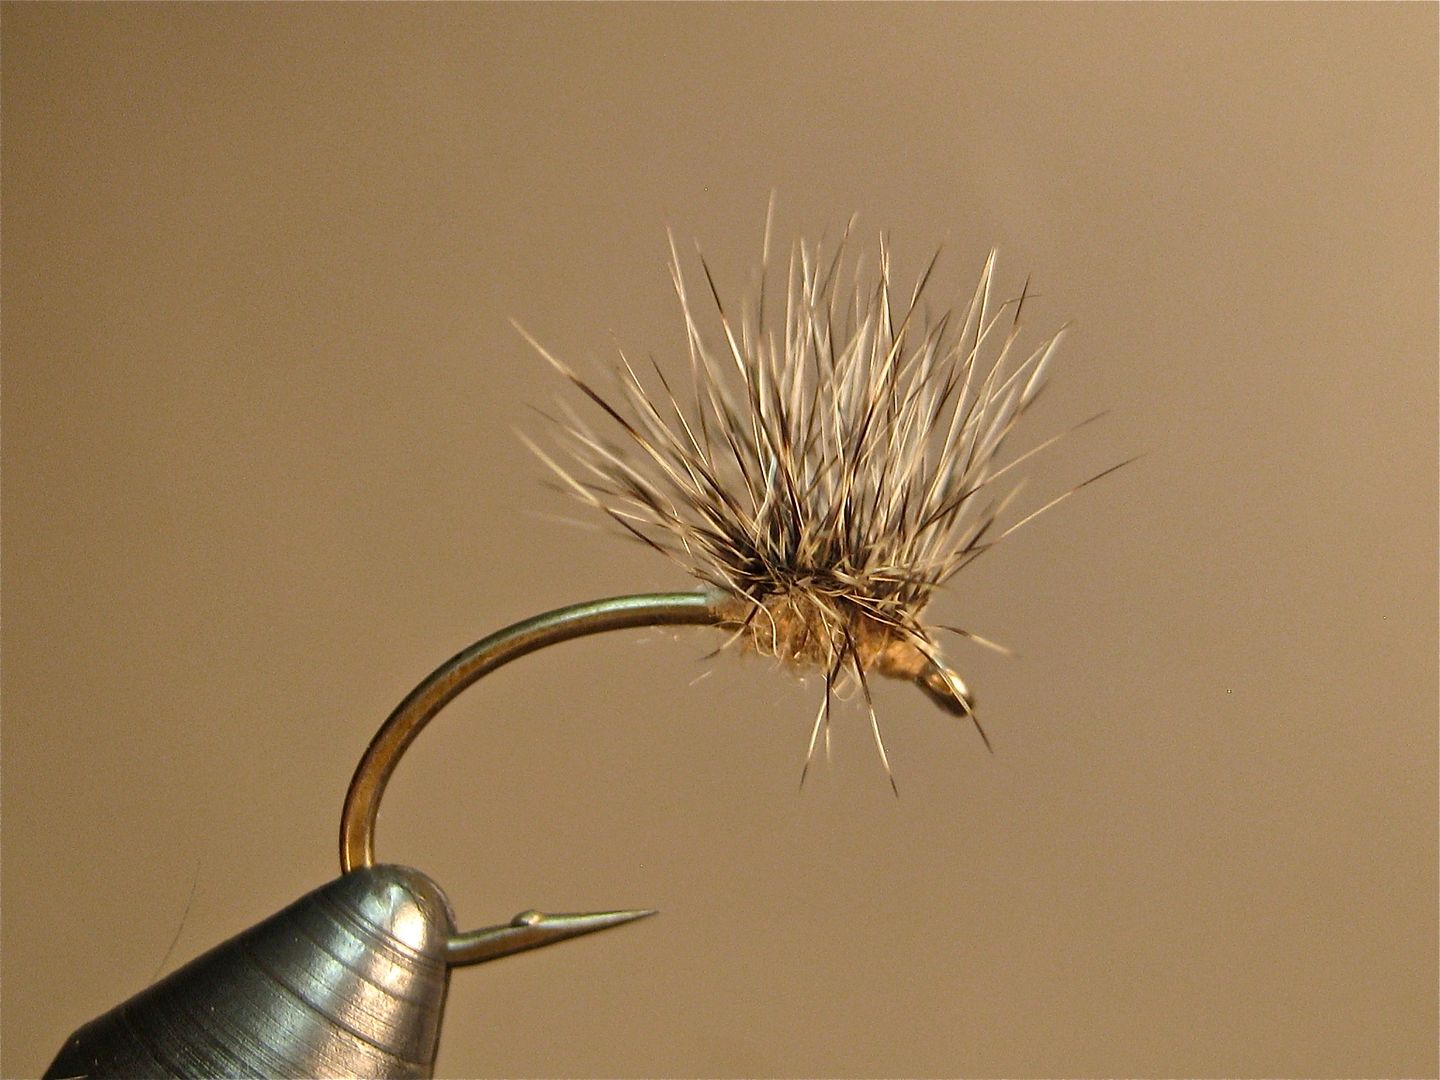
plenty of clearance for wrapping hackle

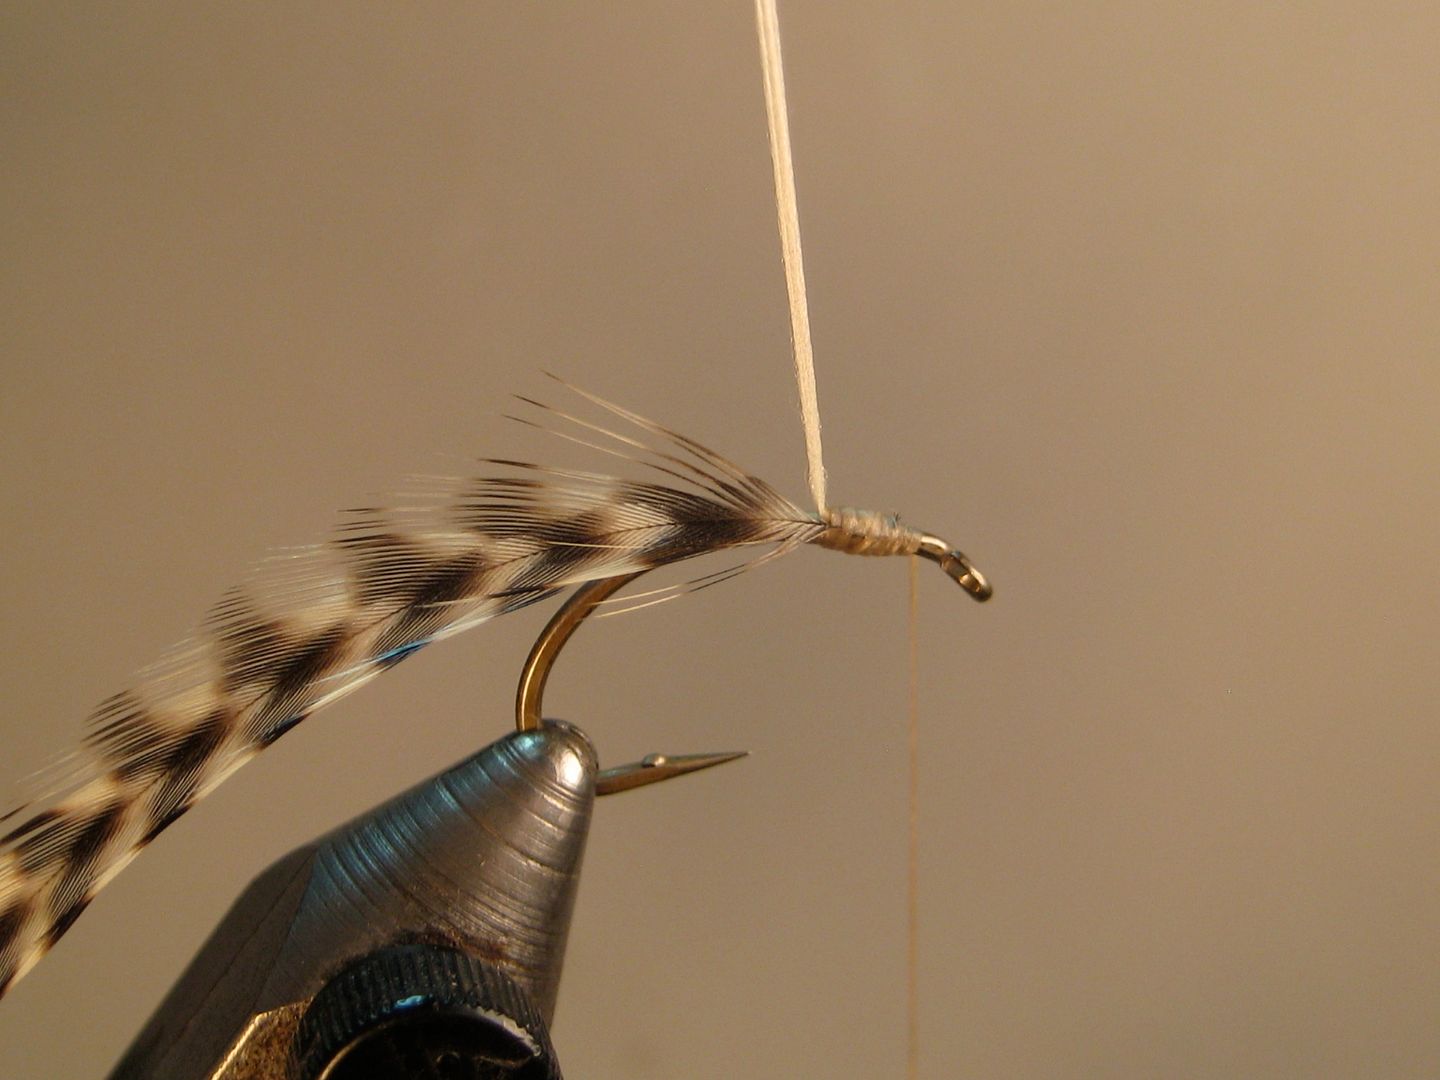
finished product
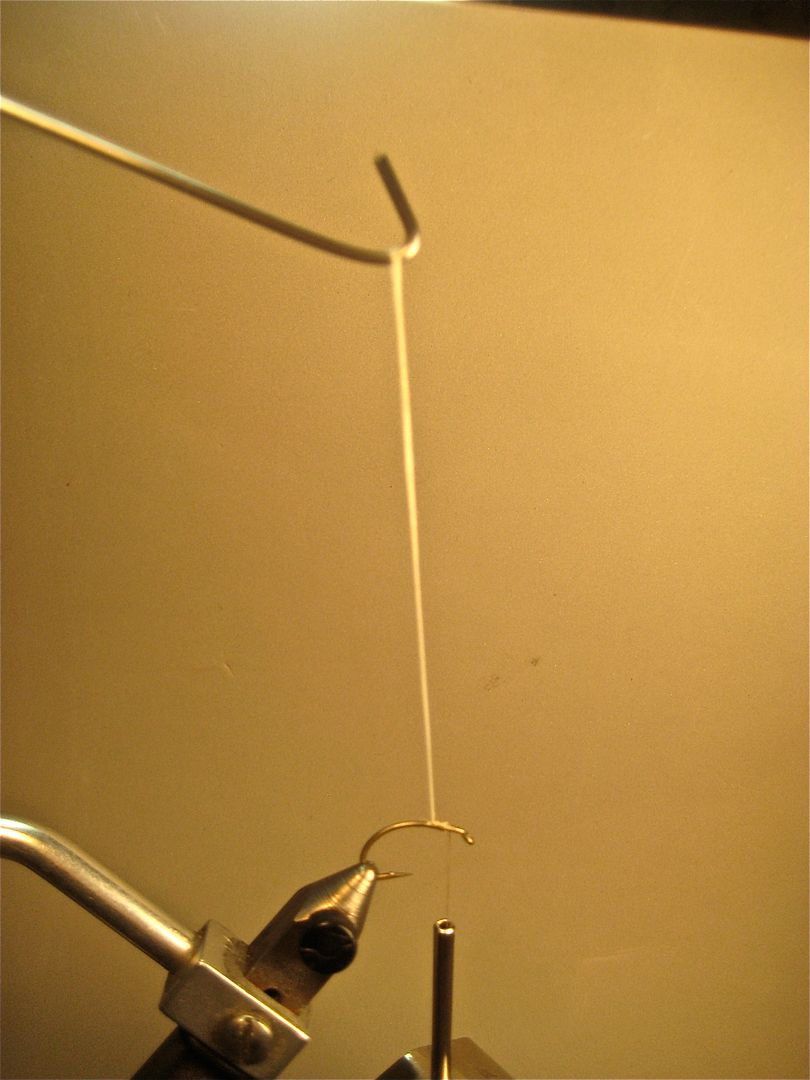
a better shot of the setup; the wire's about 20" long so it describes a decent-sized arc.
total cost - $.50 for the spacer
Regards,
Scott
Since I started tying Hacklestackers, I tried a bunch of different ways to hold the post loop while wrapping the hackle (never did get the hang of the mono loop on the finger like Mr. Quigley tied it). DIdn't feel like buying a gallows so I tried everything from bent coat-hangers to rubber bands on the Ott light that hangs over my vise. Rooting through the bins at Home Depot for another project, I found some nylon spacers that fit the vise shaft and figured they'd work as the base; just needed the right material for the hook part. Coat hangers are a bit thick and really don't have that much spring to them, same with all the spooled wire I could find. Thought about stuff like 304 spring steel wire, music wire, etc, then remembered the wire on those cheapy marker flags might work (grabbed one from the neighbor's yard - I'm sure they won't have any trouble finding those buried cables they're going to start digging around). The stuff is perfect - flexible, doesn't seem to have much memory, provides the right amount of tension, and is long enough that when it's bent and attached to the post loop, there's plenty of room to wrap the hackle without banging into it.
base - nylon spacer 3/8" I.D. x 1" x 3/8"
arm - 1/6" wire (from marker flag)
glue - 5 min epoxy
spacer; drill 1/16" hole
flag (pull the flag off and clean up the wire with a little steel wool)
bend end of the wire into a hook
epoxy other end into the spacer
slide it on the vise shaft and Bob's your uncle
plenty of clearance for wrapping hackle
finished product
a better shot of the setup; the wire's about 20" long so it describes a decent-sized arc.
total cost - $.50 for the spacer
Regards,
Scott


