Tutorial/SBS - Tying Sequence of Micro Tubing & Starling Ant
Posted: Wed May 18, 2011 8:57 pm
Micro Tubing & Starling Ant
Hook - Mustad R50-94840/Size 10
Underbody - Woolly Nylon (White)
Body - Micro Tubing (Red)
Thread - 70 Denier UNI-Nylon (Black)
Hackle - Starling Rump Hackle (Natural)
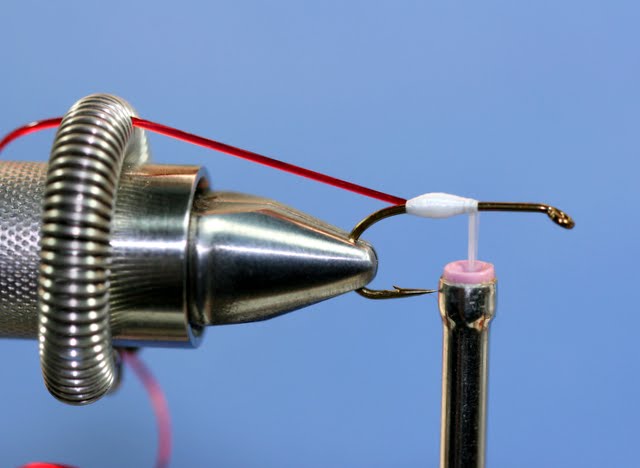
Step 1 - Mount the hook in the vice and then start the underbody at the rear half of the fly. Tye in a piece of micro tubing roughly 3 inches (75 mm) long. The micro tubing will stick out over the back of the hook bend. Using the woolly nylon, form a smoothly tapered under body.
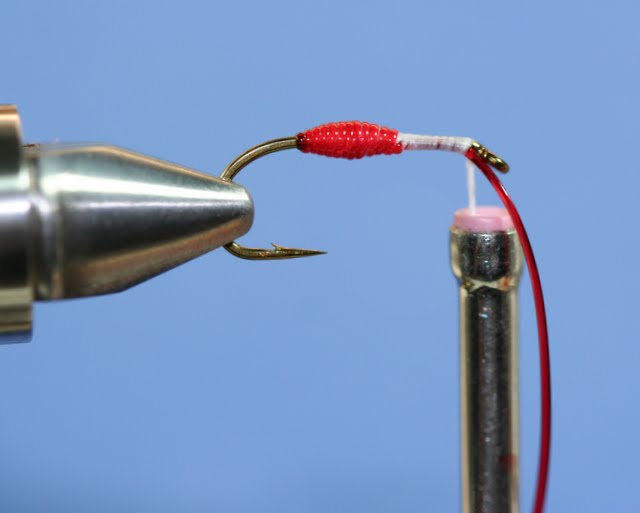
Step 2 - Wrap the micro tubing forward over the nylon underbody in close touching turns. The micro tubing is very stretchy. You can control the thickness of the tubing by adjusting the amount of tension you use. I tend to use firm tension to ensure the wraps do not slip. Once the micro tubing has reached the bare part of the hook, secure it along the bottom of the hook shank with the woolly nylon. Allow the tag end of the micro tubing to extend out under the eye of the hook.
Step 3 - Form the front taper of the fly. Once the desired taper is achieve, wrap the woolly nylon towards the mid section of the fly.
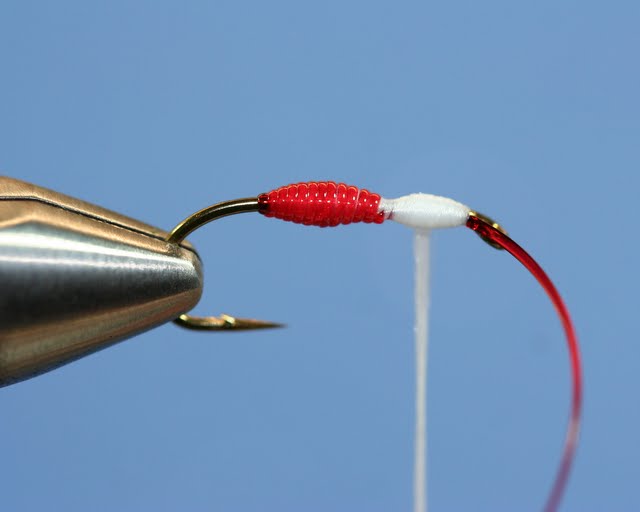
Step 4 - Mount the tying thread in the middle of the fly. Secure the woolly nylon and clip it off.
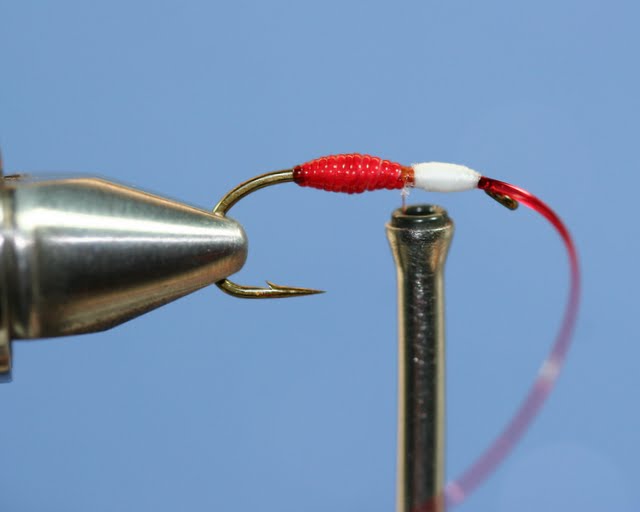
Step 5 - Wrap the micro tubing back towards the center of the fly in close touching turns. Once it reaches the middle of the body, secure it in place under the hook shank. Using firm tension, stretch the micro tubing and trim it off.
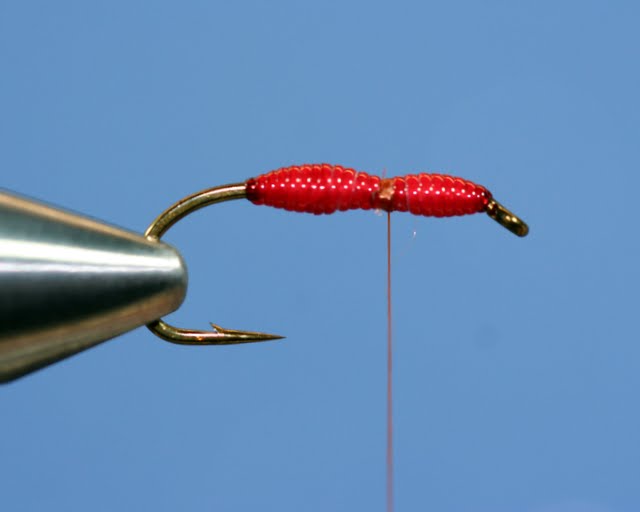
Step 6 - Prepare a starling body feather and secure it in place.
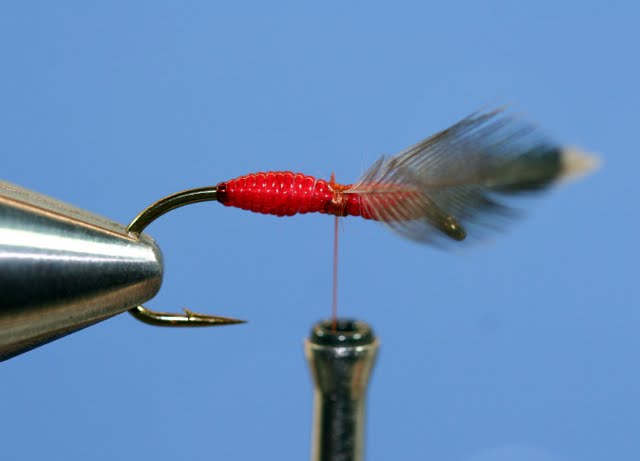
Step 7 - Grasp the tip of the feather using hackle pliers and wrap the hackle back to the thread. Wind the thread forward over the hackle and back to the middle of the fly. Wiggling the bobbin back and forth as you wrap the thread will prevent matting down the hackle fibers.
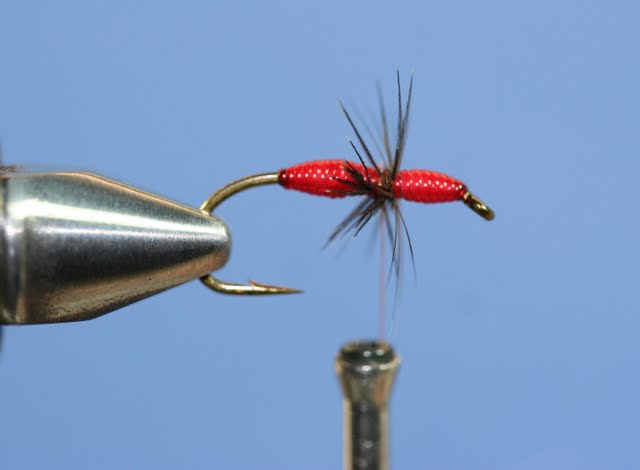
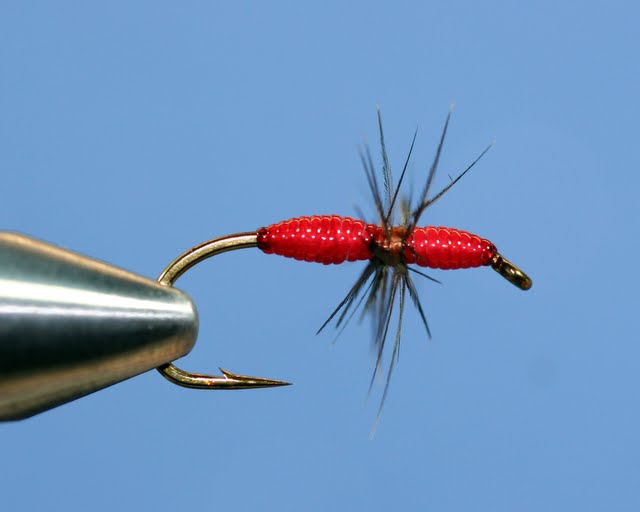
Step 8 - Whip finish and cast off the tying thread.
Hook - Mustad R50-94840/Size 10
Underbody - Woolly Nylon (White)
Body - Micro Tubing (Red)
Thread - 70 Denier UNI-Nylon (Black)
Hackle - Starling Rump Hackle (Natural)
Step 1 - Mount the hook in the vice and then start the underbody at the rear half of the fly. Tye in a piece of micro tubing roughly 3 inches (75 mm) long. The micro tubing will stick out over the back of the hook bend. Using the woolly nylon, form a smoothly tapered under body.
Step 2 - Wrap the micro tubing forward over the nylon underbody in close touching turns. The micro tubing is very stretchy. You can control the thickness of the tubing by adjusting the amount of tension you use. I tend to use firm tension to ensure the wraps do not slip. Once the micro tubing has reached the bare part of the hook, secure it along the bottom of the hook shank with the woolly nylon. Allow the tag end of the micro tubing to extend out under the eye of the hook.
Step 3 - Form the front taper of the fly. Once the desired taper is achieve, wrap the woolly nylon towards the mid section of the fly.
Step 4 - Mount the tying thread in the middle of the fly. Secure the woolly nylon and clip it off.
Step 5 - Wrap the micro tubing back towards the center of the fly in close touching turns. Once it reaches the middle of the body, secure it in place under the hook shank. Using firm tension, stretch the micro tubing and trim it off.
Step 6 - Prepare a starling body feather and secure it in place.
Step 7 - Grasp the tip of the feather using hackle pliers and wrap the hackle back to the thread. Wind the thread forward over the hackle and back to the middle of the fly. Wiggling the bobbin back and forth as you wrap the thread will prevent matting down the hackle fibers.
Step 8 - Whip finish and cast off the tying thread.