Thanks William for nudging me to participate in this thread

Macro photography is a many faceted area - and when it comes to (artificial) fly photography there is no one right path. (Is there ever? LOL)
There is one right question to ask, though.
What am I trying to achieve? Or, put another way - what is the puzzle I need to find a solution for? How do I want the fly to show?
Quantifying and clarifying the need will govern to a major extent how the approach will be, what may be suitable light, tools and props.
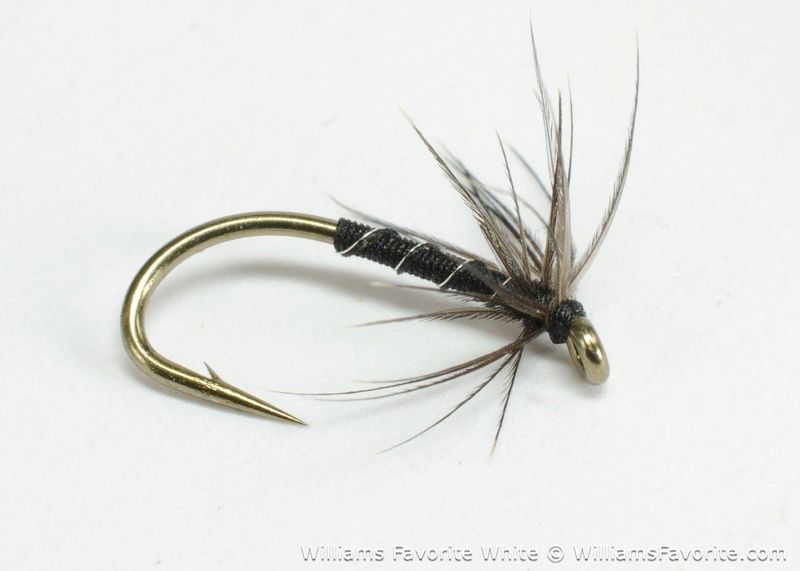
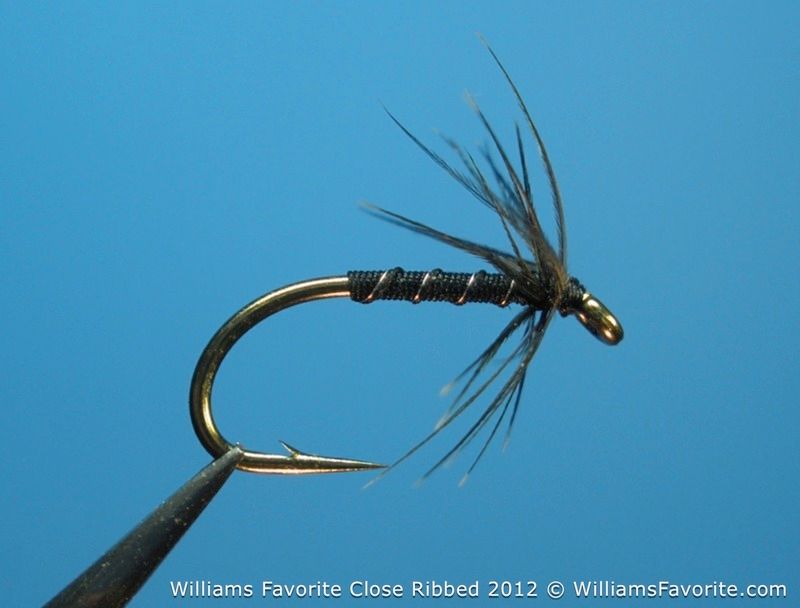
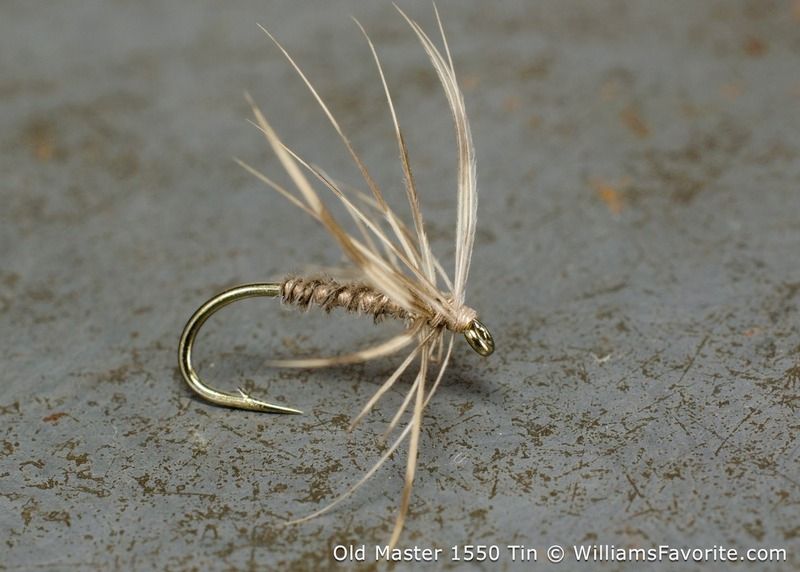
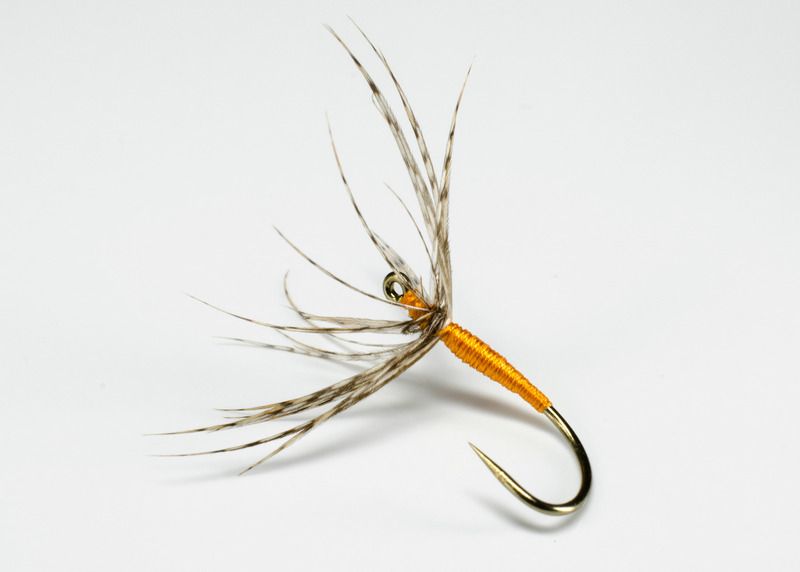
In my case, for Flytier’s Page and general web based use - I decided on a documentary style representation with total focus on the fly - a well lit, pretty stark image. I also needed the setup to be repeatable, the results predictable - and minimal post-processing. The result is what to many may be a boring image, but at the same time a very functional image - showcasing the pattern, the techniques and materials used. Ideally a photo which tells the entire story of how the tier combined techniques and materials - all in one still image.
What my typical fly images are NOT is an artistic, and ‘artsy’, representation. There is no mood or subjectivity to them - what you see is what you get.
The above paragraphs set the scene - and drove my choice of lighting, my choice of camera/lens, my background selection and even the clips I use to hold the fly.
These results, these image, may however not be the look you are after - so the remainder of this post will be (mostly) more generic - and simply/only my take on the subject. YMMV
How do I spell macro photography? C-O-N-T-R-O-L.
Macro photography is for me defined by seven principal criteria:
Lighting
Color reproduction
Magnification
File format
Output medium and size
Depth of Field (DoF)
Post Processing
Lighting:
Without adequate and quality of light the game is over before it starts. Light sources are manyfold - both natural and artificial - and YOU want to be, no need to be, the party in control. For our subject of fly photography to me this translates to artificial light. I simply cannot be held hostage to when natural light is playing nice. Use lamps.
Next decide on the amount, and the quality. The amount of light needed depends on what kind of result you are after - you be the judge. The quality of the light - direction, balance and temperature - steer the result in a major way.
Color reproduction:
Lamps used will have a specific color temperature. Manual white balance setting is a must if one hopes to get accurate color reproduction.
That said - photographer today, with digital cameras and the (VERY recommended, if your camera supports it) shooting in raw, not jpg, is much less held hostage by light temperature at time of taking the shot. Post processing allows adjusting the colors, but getting it right in-camera is so very much simpler, and repeatable.
Magnification:
In order to get the fly to fill the frame, especially in the typical trout fly hook sizes, again there is the two stage approach - In camera and post processing. In my view the focus should be on the first - settle on a camera/lens combination which allows a magnification ratio to get the fly to fill (most of) the frame - rather than rely on a high megapixel sensor and aggressive cropping in the post processing stage.
File format:
There will almost always (read: always) be a need for a post processing step to optimise the image. Certainly one should/must strive to take the cleanest image at shooting time, but post processing software is part of a sensible workflow. I strongly recommend shooting in raw format if your camera has that ability. If not, then go for a lossless format such as tiff. The camera default of jpg immediately introduces loss of detail (it is a ‘lossy’ format). Once detail is lost, it is gone forever. But it does not end there - if the starting point is a jpg, then re-saving after post processing once again results in detail loss - compounded with each file save operation. I suggest you keep the file in a lossless format through all steps - on the in-camera memory card storage, and through the post processing steps - and only save a web ready version as the last step.
Output medium and size:
A key variable is required output medium and size.
If the output medium we need to cater for are paper prints, say a 10” by 15” or 12” by 15”, or high quality full screen display, then a pretty high rez image is required.
On the other hand, if the desired output is for use on web pages, the requirement changes. For my images on Flytier’s Page I downsize to 800 pixel on the long side. Note the word “downsize” - in megapixel terms this is a pretty low rez image. It is under 1mp - yet on a computer screen I like to think they look pretty decent.
Any camera out there, any smartphone out there, will record images at much higher resolution. So if web use is your target, worry not about seeking to use the highest resolution camera - focus on capturing the best quality image by paying attention to the lighting and the general close up capabilities, file format recording, the quality of the lens and the post processing steps.
In my case - as William mentioned - Flytier Page images, and also the fly images I post on Flymph, are shot with a very humble and quite dated 3mp point&shoot, a Nikon CoolPix 995. Introduced in 2001, this camera is now almost a decade and a half old, or a ‘century’ ago in digital camera terms - yes it is my ‘weapon of choice’ still today. It ticks all my boxes for this niche called fly photography for web use - especially the next one, which is...
Depth of Field (DoF):
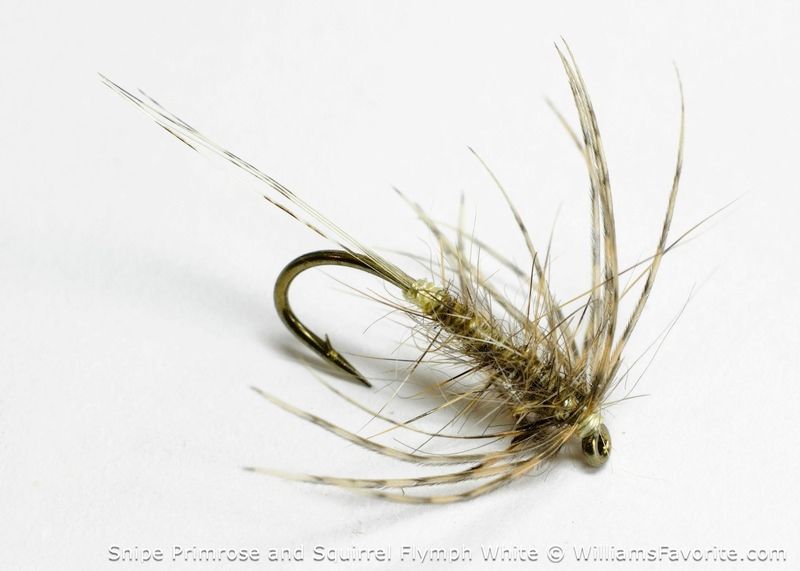
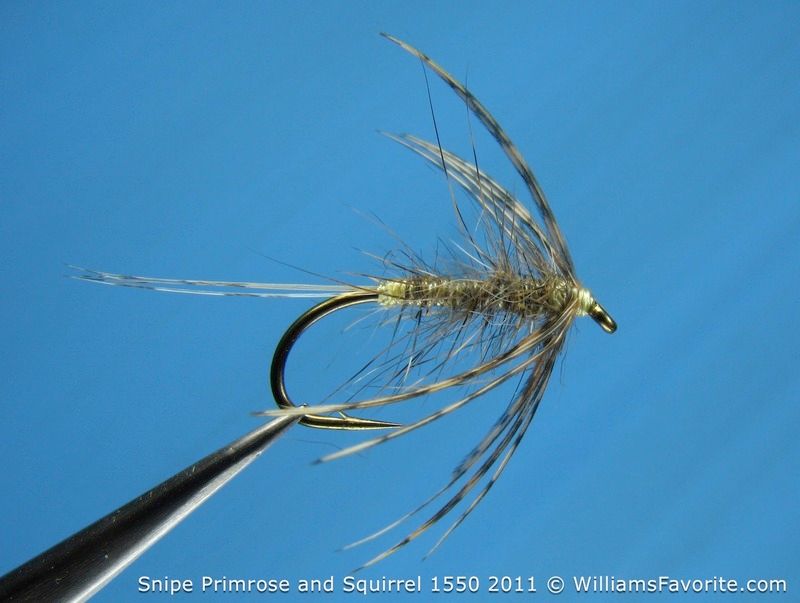
Fishing flies are very much 3-D objects and as such they are a major challenge to photograph up close. Achieving sufficient DoF to get all the visible parts of a fly in focus - that is where it gets interesting. It is also where fundamental decisions need to be made on camera sensor and lens selection.
A number of variables come into play - each influencing the DoF outcome. Effective focal length, aperture, sensor size - and post processing crop. There is also an often overlooked tie-in with the previous item on my list, output medium and size. For a 800 by 533 pixel image (I shoot the web page images in a traditional 3:2 format - a legacy from my 35mm film days) I need a clean and detailed source file, I do
not require a double digit mp capable sensor.
What I
do need is as much DoF as I can muster so all the components of the visible part of the fly are in focus.
*note* The focus stacking approach of course is another avenue to get mind blowing DoF by slicing/combining a string of images. It is not an approach which I find works for me.
Post Processing:
My post processing is an integral part of my generic photography workflow - and it typically involves importing raw files into Adobe Lightroom.
However, this is not the case with my fly photography. Here the aim to have as clean and complete an image out of the camera - after all I have full control over the photography step. I have control over my subject, the background, the lighting - there is where I tweak these aspects. I want as little as possible to do to the image once it has been captured, as little post processing as I can manage.
The post processing takes place in Adobe Photoshop - simply because I have the program available - but in fact I could easily achieve the same result with any of a number of no/low cost freeware or shareware programs. I start with a clean image, properly exposed, colors accurate - there may be an errant finer or strand to clone away (this is where a bland/even background is a huge asset) - but other than that post processing involves nothing more than a mild sharpen, an image reduction to 800 pixels on the long side of the image, and an export to jpg format. Job done.
---
There may not be one right way, but there is a right way for me.
While I use larger double digit mp sensor bodies, with high end glass, for most of my photography, including close-up work, with the combination of these larger sensors, longer focal length macro lenses and aperture sweet spots I struggle/fail to achieve the results to match or surpass the mighty mouse-that-roared CP995
Its combination of a puny 1/2.3” sensor, a small aperture (I can tweak f10.2 out of the CP995), a short focal length lens, from a camera equipped with good quality glass and able to focus adequately close, delivers sterling DoF out of the box. Minimal post processing of the tiff in Photoshop rounds off my workflow.
Works for me
Cheers,
Hans W